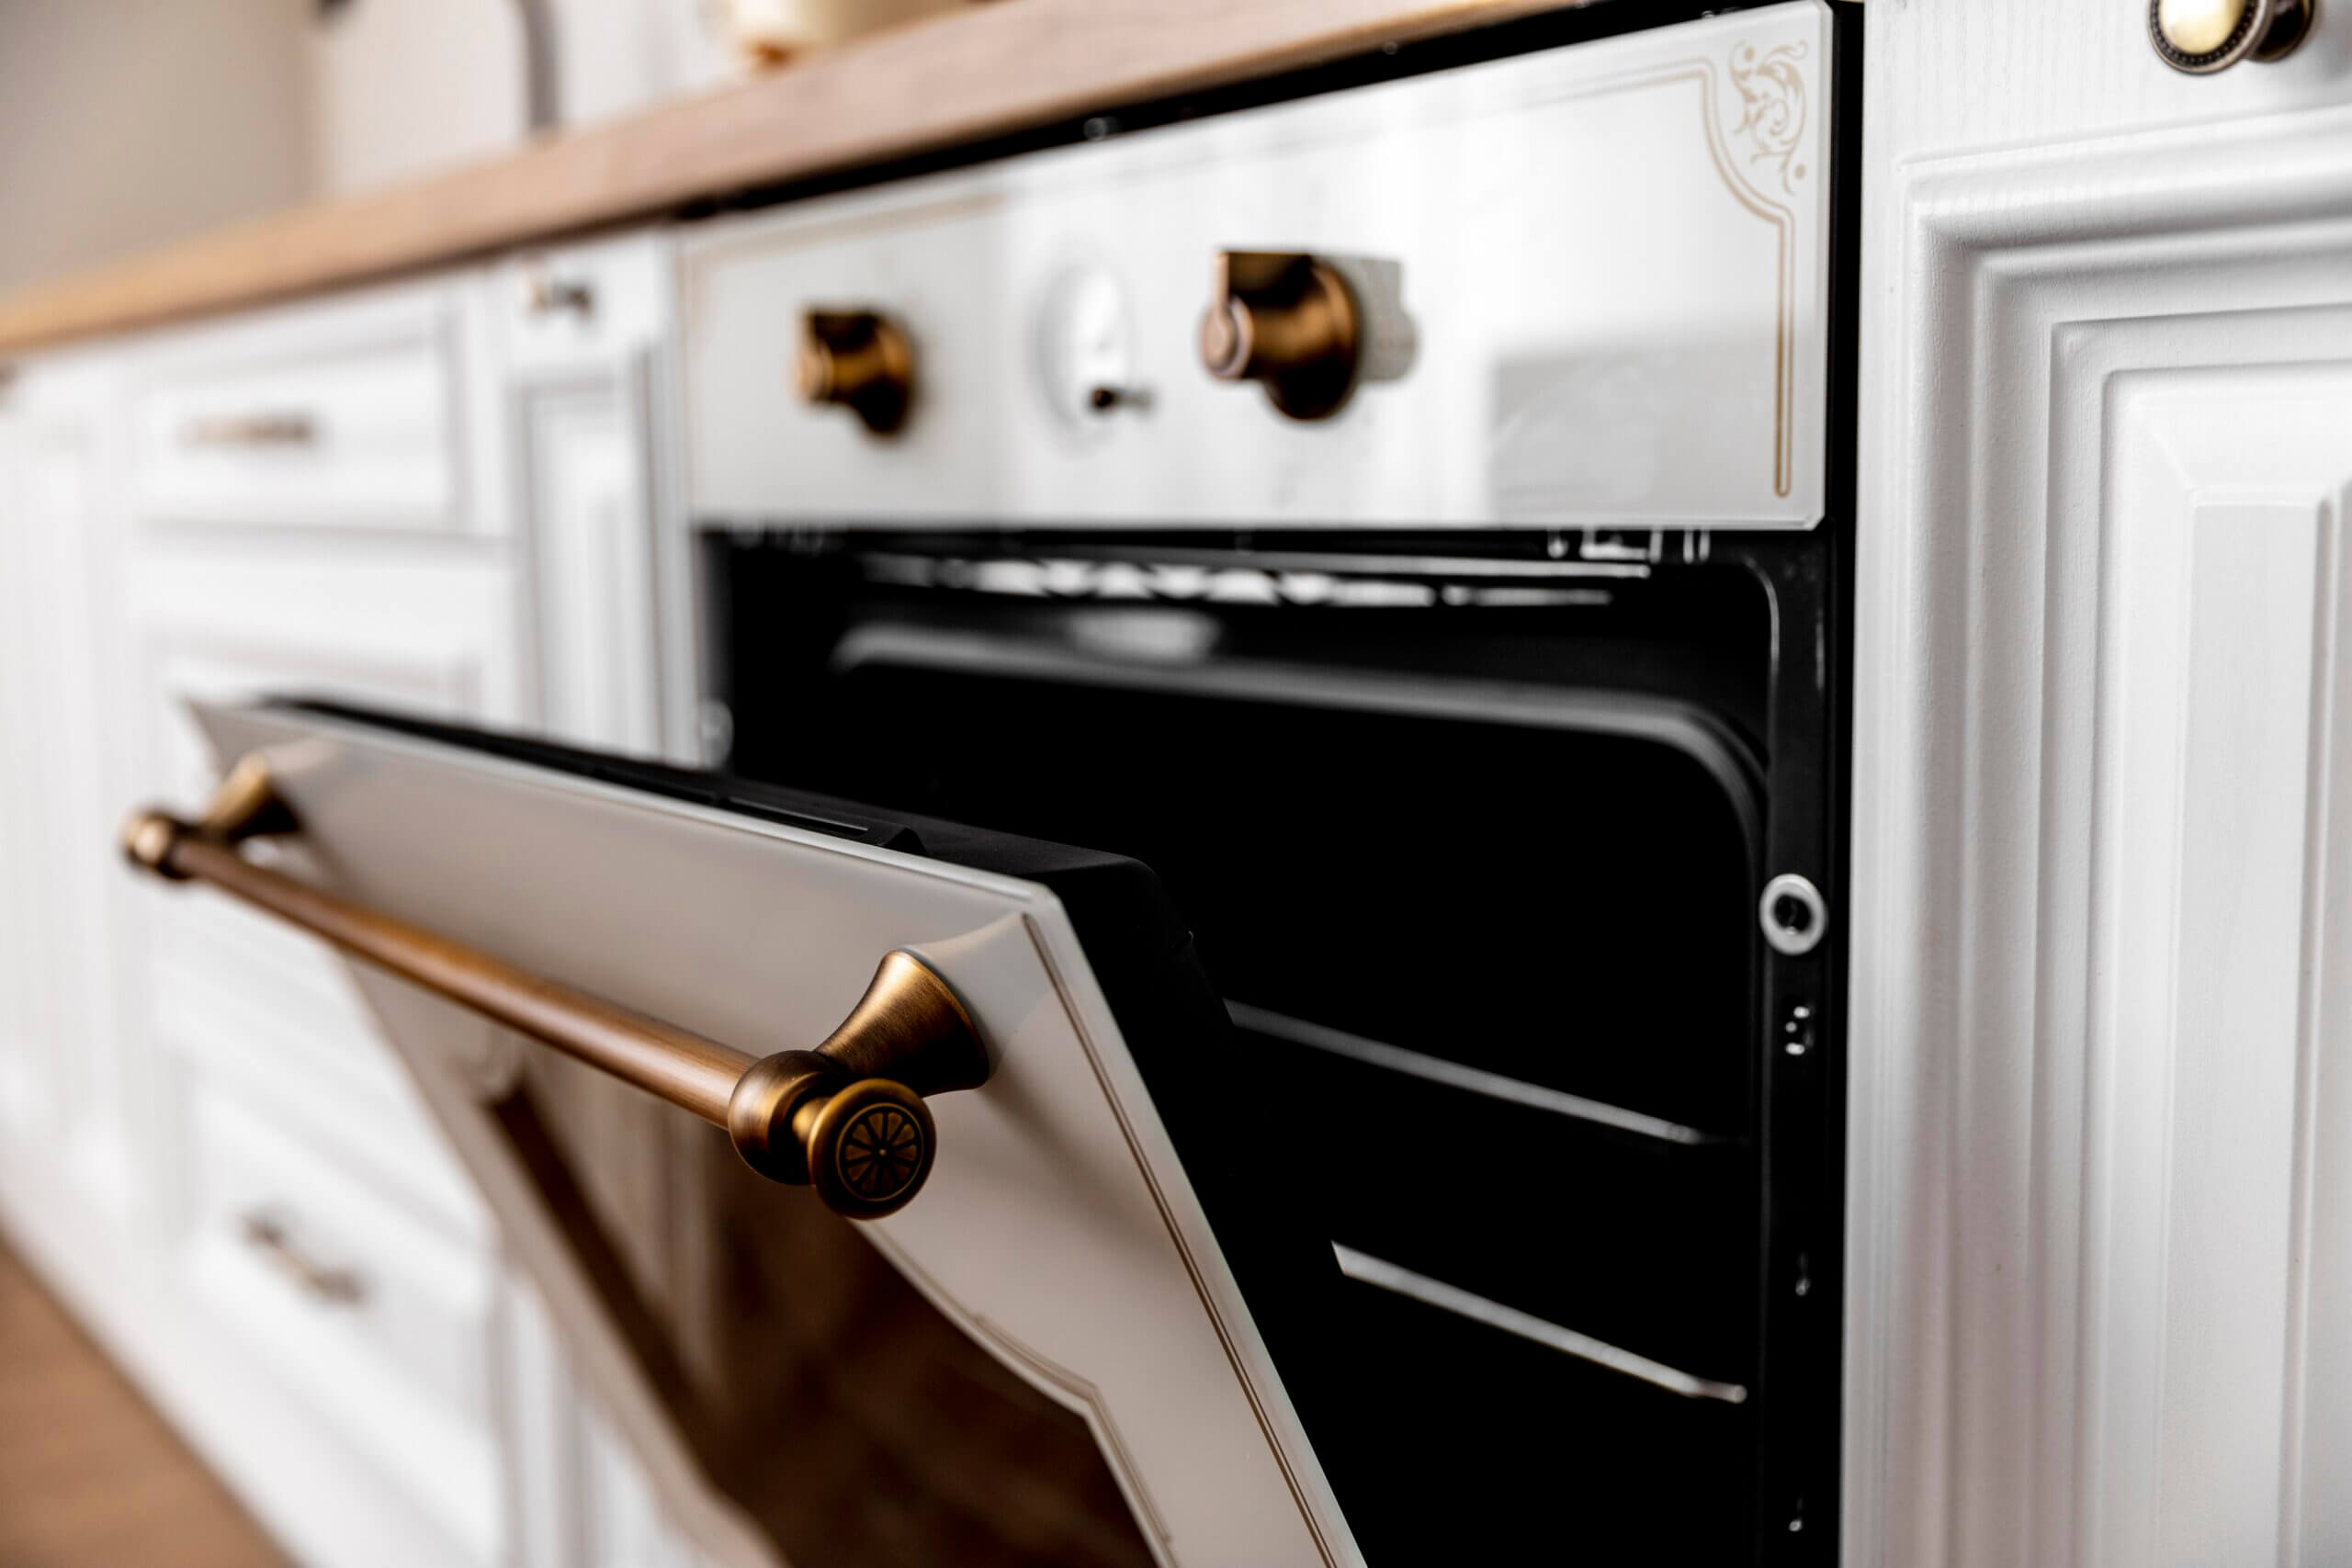
Simplify Your Oven Cleaning Routine with Our 10-Minute Cheat Sheet.
Cleaning the oven is often perceived as a time-consuming and daunting chore. However, with the right approach and a few clever strategies, you can achieve a sparkling clean oven in just 10 minutes or less. We provide you with effective tips to simplify the oven cleaning process. Say goodbye to the hassle and hello to a pristine oven that's ready to use in no time.
Step 1. Gather Your Supplies
Before you begin, gather the necessary supplies to make the process smooth and efficient. You’ll need:
1. Rubber gloves
2. Baking soda
3. Distilled white vinegar
4. A damp cloth or sponge
5. Hot water
6. A plastic spatula or scraper
7. A microfiber cloth or paper towels
Step 2. Remove the Oven Racks
Start by taking out the oven racks and set them aside. Cleaning them separately will make the process easier and more thorough.
Step 3. Create a Baking Soda Paste
In a small bowl, mix a generous amount of baking soda with a few tablespoons of water. Stir the mixture until it forms a spreadable paste. Baking soda is a natural and effective cleaner that helps to break down grease and grime.
Step 4. Apply the Baking Soda Paste
Put on the rubber gloves and use your fingers or a brush to apply the baking soda paste to the interior of the oven. Focus on the areas with stubborn stains and built-up grease. Avoid applying the mixture to the heating elements or any other sensitive parts of the oven.
Step 5. Let it Sit
Allow the baking soda paste to sit on the interior surfaces of the oven for at least 5 minutes. This will give it time to work its magic and loosen the dirt and grime.
Step 6. Clean the Oven Racks
While the baking soda paste is working, take the oven racks and wash them separately. You can use hot, soapy water and a scrub brush or a non-abrasive sponge to remove any grease or residue. Rinse them thoroughly and set them aside to dry.
Step 7. Wipe Down the Oven Interior
After the baking soda paste has had time to work, dampen a cloth or sponge with hot water and use it to wipe down the interior surfaces of the oven. The baking soda should have loosened the grime, making it easier to remove. For stubborn spots, use a plastic spatula or scraper to gently scrape away the residue.
Step 8. Rinse and Dry
Once you have wiped away the baking soda residue, dampen a clean cloth or sponge with distilled white vinegar. Wipe down the interior surfaces to neutralize any remaining baking soda residue. Finally, rinse the cloth or sponge with hot water and wipe down the oven one last time. Use a microfiber cloth or paper towels to dry the interior thoroughly.
Step 9. Clean the Oven Door
Don’t forget to clean the oven door as well. Use a cloth or sponge dipped in the vinegar and water solution to wipe away any dirt or smudges. Dry it with a clean cloth for a streak-free finish.
Step 10. Reinsert the Oven Racks
Once everything is dry, reinsert the clean oven racks back into the oven.
Cleaning your oven doesn’t have to be a daunting task that takes up a significant amount of time. By following this quick and easy cheat sheet, you can enjoy a clean oven in just 10 minutes or less. Remember these key points:
1. Gather your supplies before starting.
2. Remove the oven racks for separate cleaning.
3. Create a baking soda paste and apply it generously to the interior surfaces.
4. Let the paste sit for at least 5 minutes to break down grease and grime.
5. While the paste is working, clean the oven racks using hot, soapy water.
6. Use a damp cloth or sponge to wipe down the interior surfaces of the oven, focusing on stubborn spots.
7. Use a plastic spatula or scraper for tough residue.
8. Rinse the cloth or sponge with distilled white vinegar to neutralize baking soda residue.
9. Rinse the oven with hot water and dry thoroughly.
10. Clean the oven door with the vinegar and water solution, then dry for a streak-free finish.
11. Reinsert the clean oven racks.
By following these steps, you can maintain a clean oven without investing excessive time and effort. Regularly cleaning your oven will not only improve its performance but also prevent the buildup of stubborn stains and odors. Enjoy a sparkling clean oven that’s ready for all your culinary adventures!
The I Love Maid Team.